All The Stuff. Let’s talk about Bee Equipment!
A GUIDE TO THE ESSENTIAL GEAR AND TOOLS FOR THE BEGINNER BEEKEEPER
You’ve ordered your bees, and you know it’s time to get all your tools, gear, and equipment!
This is the fun part right? Who doesn’t love gadgets!
You grab a beekeeping catalog, or perhaps peruse a few online beekeeping sites, and you suddenly have paralysis of the brain. How are there SO MANY tools, gadgets, bells, whistles?! Literally the marketplace has thousands of items you can buy pertaining to beekeeping… I remember selecting gear for my first hive, and it was enough to send me screaming for the hills.
How are you ever supposed to wade through it all?
Personally, I am a minimalist beekeeper. I have a few trusty tools, and a few fun things! For the most part, you will never see me with more than 2 or 3 items in a bee yard.
To help you navigate through the mess of stuff, I took a few moments this week to lay out the absolute must-haves, along with a few items you may want to consider. I’ve also provided a few tips when selecting among the many available options. As long as you have the following basics in your bee bucket, you will be prepared. We also carry all of the high quality gear we use in our own apiaries in our Austin storefront. Come pay us a visit! And Happy beeking! (beek= bee +geek.)
(A quick caveat: the below does NOT discuss the different hive types and what to look for when shopping for your hive woodenware, or the home to house your bees. That’s a discussion that needs a whole blog all to itself, and I will have that for you in the coming weeks!)
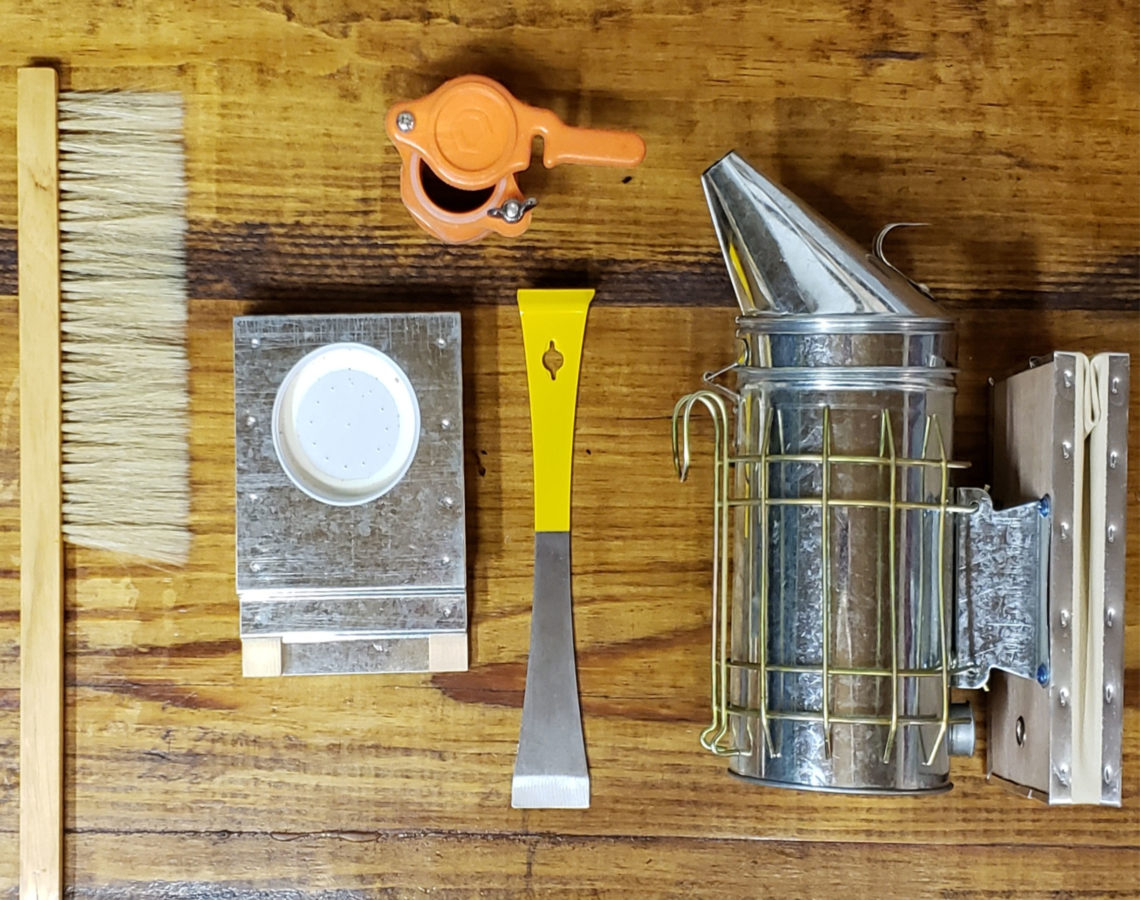
THE MUST HAVES.
Entrance reducer:
One of the benefits our tended hives have, as opposed to those in the wild, is that we can increase and decrease both the size of the hive and the entrance. Entrance size is important because we can give a strong hive a larger entrance to prevent traffic jams in the busy foraging months, and we can decrease the entrance size when the hive is weaker and doesn’t have as many resources to defend the entrance. Also, reducers are recommended until a new hive becomes established and used again in the winter to decrease the cold winds into the hive. If you keep top bars, you can use cork plugs to decrease your number of entrances to the same affect. You will need one entrance reducer per hive.
Tip: in a pinch most anything can be used as a reducer. At times I’ve realized I needed a reducer and have utilized a large stick, broken to the right size. Keep in mind anything you place at the entrance that the bees cannot remove will be propolized to the bottom board.
Smoker:
Your smoker is the pop to your tart. The peanut butter to your jelly. Never, and I mean never, inspect a hive without a lit smoker in your hand. If you’ve taken a class with me you know I don’t like to preach a certain philosophy of beekeeping, but this is one area where I stand firm. (If you are having trouble keeping your smoker lit, watch my video for some tips on how to keep it smokin’). Cool smoke interferes with the defender bees’ communications systems, and it also provides a great tool to move bees away from an area so you can move without squishing bees. Inspecting a hive without a smoker is asking for trouble, and a smoker allows you to stay one step ahead of any forseen aggression. A good quality smoker will last for decades, but with frequent use you may need to change the bellows every few years. Some smokers have a cone shaped upper and some have a domed shaped upper. There’s no difference in functionality, like a handbag, choose one that goes best with your shoes. Watch our video for tips on how to effectively use your smoker when working your hive!
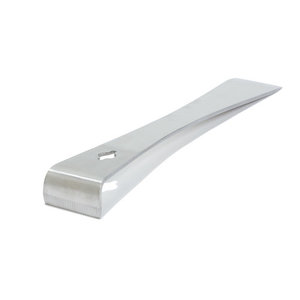
Hive tool:
Consider this tool your third hand. Bees gather propolis, a microbial and extremely sticky substance from the sap of trees. They use this “bee glue” to seal up all crevices and holes in the hive, and they will glue all your woodenware parts together. Your hive tool is used like a crow bar to help pry open all the hive components. Never jerk a box or frame out of the box without loosening it with your tool first. Best case scenario, you are apt to break a wooden component (yes, this stuff is that strong!). Worst case, you may yank up a box and instead pull up the entire hive, which may break mid air, dropping a whole hive to the ground. A certain beekeeper I know that owns an awesome little honey company in Austin has done this a time or two when she was in a big rush and couldn’t find her hive tool….
Feeder: To feed or not to feed, that is the controversial question. While I like to show restraint and sound judgment in taking care to not supplemental feed bees when it’s not necessary, except to produce an intended result just for the benefit of us humans, a point in time will come when you have to feed your bees. Feeding a brand new hive is critical to help them build enough comb to become established, and often times the weather just doesn’t cooperate and feeding sugar water is necessary. You have lots of feeder options, and it’s important to find the one that best suits yours and your bees’ needs. We prefer to feed over an inner cover with an inverted jar or pail, or at the entrance with a boardman/entrance feeder from time to time. The beauty of purchasing a boardman/entrance feeder is that this one feeder gives you two configuration options. You can use the bottom feeding piece to feed at the entrance, or pitch it and just use the perforated lid to feed over an inner cover. A double jar feeder gives you twice the capacity of a regular entrance feeder. If you have multiple hives, you may want to buy or make a few different feeder options to decide what works best for you. You will need one feeding component per hive.

Protective gear:
The level of protective gear you select is a very personal decision, and needs to match your comfort level working bees. I always recommend at least one fuller coverage piece, which means either a full suit or a jacket and veil combination. While I rarely wear more than a veil, a time will come when you will need and want a piece with more coverage. Start with a more protective piece, and as your comfort level grows you can move to less gear. A tip for those of you in hotter climates: (Texans, are you listening?) I strongly recommend you consider ventilated gear. While it is heavier than typical cotton protective gear, it is significantly cooler and is actually more sting resistant. You will thank me come summer hive inspections. Finally, don’t go cheap on your gloves. You will want a sturdy thick glove, because bees can’t sting through some of the thinner materials. A final note: you will become the most popular kid on the block once you have bees. It’s a great idea to have one or two veils and sets of gloves for guests so you can do your very own hive tours!
THE OPTIONALS TO CONSIDER

A bee brush up close!
Beebrush:
I carry a bee brush in my truck and though I rarely use it, it becomes critical for those few times that I do need it. A brush is used to brush bees off a frame, your veil, or wherever else bees are hanging out that you’d rather they not. I recommend using the brush sparingly, as they do not enjoy a good brushing and will get agitated very quickly. If you have a frame covered in bees and you need them to move, a quick downward jerking motion of the frame will knock most of the bees off, and then you can use the brush to remove the few remaining bees.
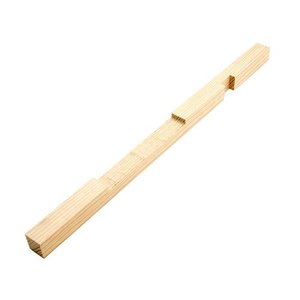
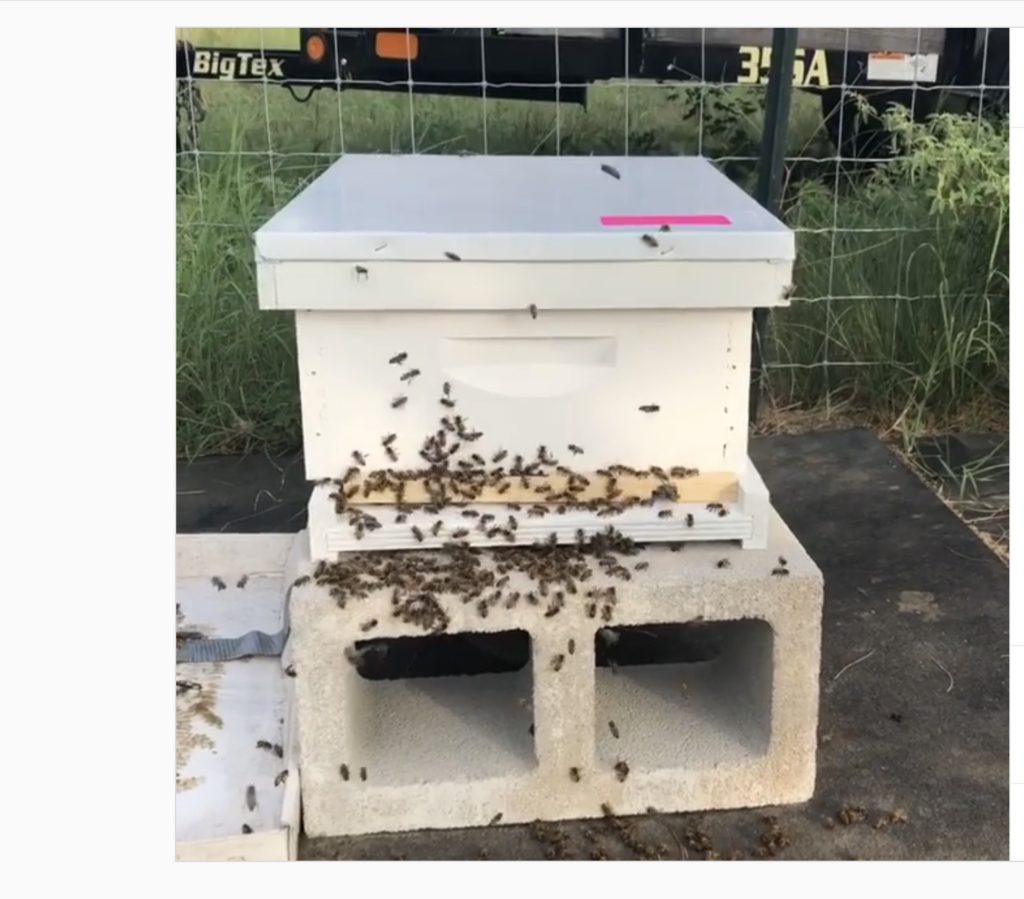
Hive stand: Finally, if you have read our blog on how to prepare your backyard apiary, then you know we recommend raising your hives off the ground at least 6 inches. You can use something as simple as 2 cinder blocks, build your own, or purchase a hive stand. If you have a top bar, a stand is not necessary as your hive will already be elevated on legs to waist height. Keep in mind you need one stand option for each hive, and remember that if you are building your own, the stand must be able to withstand several hundred pounds in weight, at least.

Langstroth Comb stand:
I have recently added these handy frame stands to my beekeeping arsenal. They hang on the side of your hive and allow you a place to hang a frame or two to give you some space to work in the hive, as opposed to leaning a frame up against the hive. I did the latter during inspections for a long time, but the practice does increase the chance that you may kick a frame, squish a queen, and if you have foundationless frames, new tender comb can fall out of the hive on a hot day if not kept perpendicular to the ground. (Wanna feel like a really horrendous beekeeper? Handle your frames carelessly and let tender comb fall and watch helplessly as the hard work of thousands of bees drop to the ground, wasting honey or perhaps even killing brood. The first time it happens is enough to make you wanna cry. Know that it will happen to you, as it has happened to almost all of us. Vow to be more careful, and carry on! If it was a frame of honey, move the comb at least 15 feet from the hive to prevent robbing and the bees will find the discarded comb and carry the honey back into the hive.
If you are searching for any of these supplies mentioned above, be sure to stop by our shop in Austin to take a look at what we’ve got in stock.
The Equipment we carry in our shop can be found here!

Leave a Reply